What makes sorrel even more appealing is its hardiness; the plant keeps on giving year after year as it is a perennial. If you are ready to cultivate this versatile green for your kitchen you are in the right place. I have grown sorrel now for 15 years with some sorrel plants over 10 years old!
Here's how to grow sorrel to add a perennial punch of flavour to your table!
Understanding Sorrel
Choosing the Right Conditions
Before you get your hands dirty, you'll need to get some things in place for your sorrel to thrive. Sorrel, much like its culinary cousin the spinach, prefers cooler temperatures. It's also incredibly adaptable to different soil types but thrives best in well-draining soil.
Soil
Sorrel is pretty forgiving when it comes to soil type. It will grow in average, moist, well-drained soils with a pH ranging between 5.6 and 7.8. If your garden soil doesn't tick these boxes, consider adding some compost to enhance its texture and nutrient content.
Light
Sorrel loves the sun but will also tolerate partial shade. Aim for about six hours of sunlight a day if possible. In hotter climates, a bit of afternoon shade can help prevent the leaves from becoming too bitter.
Sorrel likes consistent moisture. Keep the soil moderately moist, not waterlogged, to avoid root rot. Mulching around sorrel plants can help retain moisture and prevent weed establishment, which compete for water and nutrients.
Temperature and Climate
Sorrel is an early riser, growing best in the cooler weather of spring and fall. It can tolerate light frost, and some varieties even persist through a mild winter. Just make sure to protect the plant's roots with some straw or mulch if you anticipate a hard frost.
Planting Sorrel
Now that the stage is set, it's time to sow your sorrel seeds or plant your seedlings.
Sowing Seeds
If you choose to start from seeds, sow them in early spring about 12 to 18 inches apart. Plant the seeds about half an inch deep and keep the soil moderately moist until the seeds germinate, which usually takes about two weeks. Thin out the weaker seedlings to give the stronger plants room to grow.
Planting Seedlings
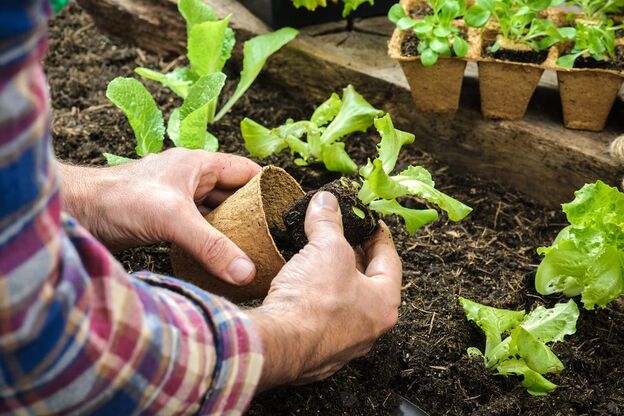
For an early start, you can purchase sorrel seedlings from a garden centre. Transplant them into your garden in the same way you would sow any other leaf crop, making sure they are spaced appropriately.
Caring for Your Sorrel
With sorrel in the ground, your work isn't over. Care is essential to ensure a strong, and productive plant.
Fertilizing
Sorrel isn't a heavy feeder, but it does appreciate a little boost. After the first harvest in the spring, give your plants a dose of balanced fertilizer. Repeat this process every month during the growing season, always following the manufacturer's instructions.
Weeding
Keep the sorrel patch weed-free. Weeds can rob your sorrel of essential nutrients and water. Hand-pull weeds to avoid disturbing the shallow roots of your sorrel plants.
Why not watch my video of how I grow Sorrel below?
Sorrel is relatively pest and disease-free, but it's not completely immune. Keep an eye out for common garden pests like aphids and snails, and take measures to control them if they become a problem. To prevent fungal diseases, avoid overhead watering and allow for good air circulation around plants. If you have deer which visit your garden they absolutely love the taste of sorrel leaves! I found this out to my displeasure in my own garden so if deer are around they will need to be fenced off.
Harvesting
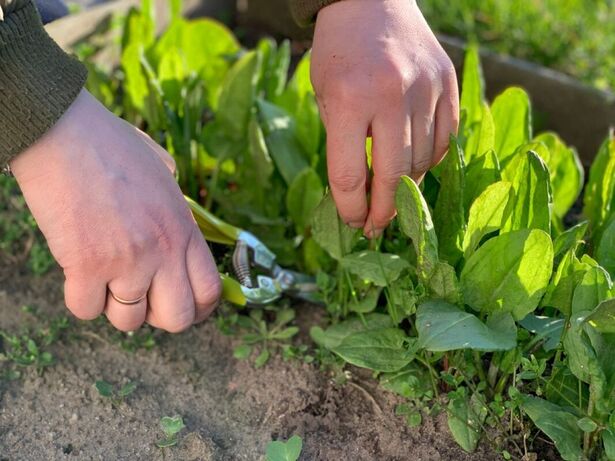
Sorrel is ready to harvest when the leaves are about six inches long. You can start picking leaves about 8 weeks after planting if you've sown from seeds or once the plant has established a good base if you've transplanted seedlings. Make sure to harvest regularly by cutting the outer leaves, which encourages more growth. Just remember not to harvest more than one-third of the plant at a time to ensure it stays healthy.
Sorrels suitability for urban farming
Sorrel, thrives in urban farming settings due to its resilience, productivity, and culinary versatility. Its perennial nature means it requires minimal replanting, making it efficient for small urban spaces.
Sorrel's tangy flavour adds zest to urban cuisine, appealing to a diverse array of palates. Moreover, its ability to tolerate partial shade makes it adaptable to urban environments with limited sunlight. Rich in vitamins and antioxidants, Sorrel offers a nutritious addition to urban diets, promoting health and well-being.
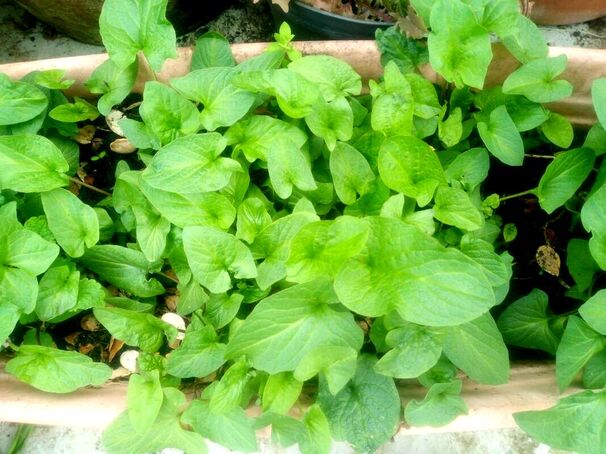
Sorrel has extremely deep taproots which makes it extremely drought tolerant and resilient to man made conditions. It can also be grown in pots or urban raised beds.
With its ease of cultivation and culinary appeal, Sorrel proves to be an excellent choice for urban farmers seeking sustainable and flavourful crops.
Common Sorrel Varieties
- French Sorrel: Smaller and less tart than common sorrel, it's often favoured for its milder flavour, which makes it great for eating fresh in salads.
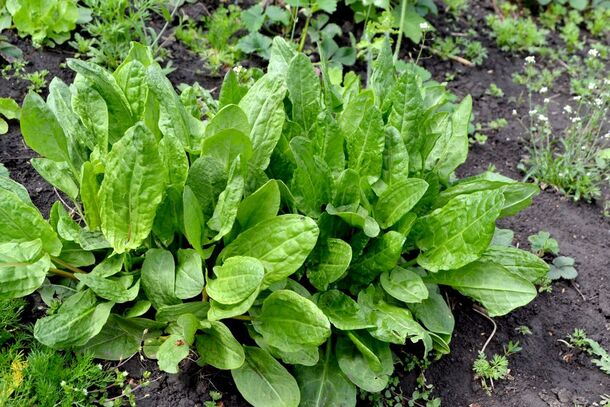
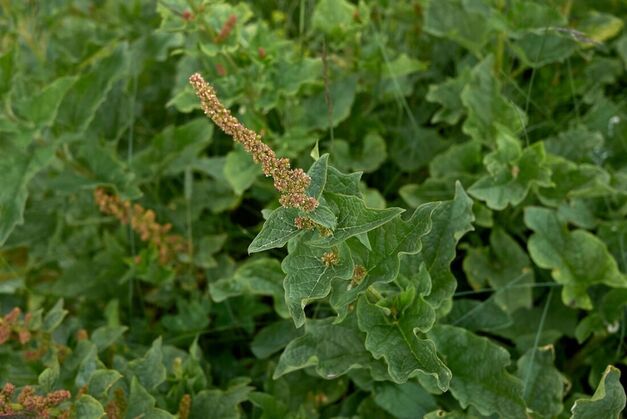
- Garden Sorrel: This is the standard variety that is commonly grown for its culinary uses and attractive, large, arrow-shaped leaves.
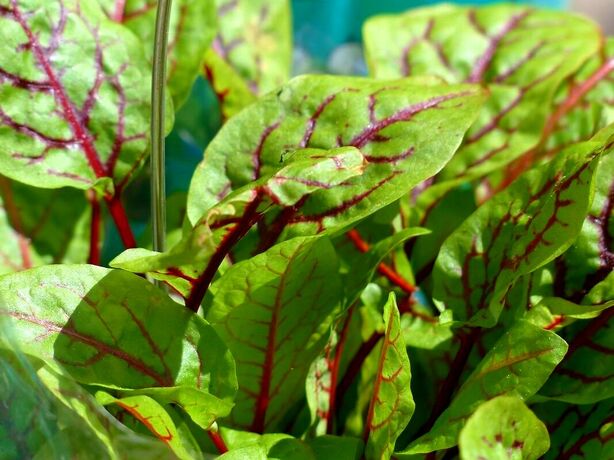
- Red-veined Sorrel: A visual stunner with red veins running through its green leaves, this variety is often chosen for its ornamental value.
Incorporating Sorrel Into Your Kitchen
Once you've grown your sorrel, it's time to enjoy the fruits (or leaves, in this case) of your labor. Sorrel's bright, lemony flavor adds depth to a variety of dishes:
- Soups and Stews: Add sorrel to spring vegetable soups and classic spring lamb stew for a fresh, tart element.
- Salads: Mix sorrel with other greens for a zesty salad, or use it on its own dressed with olive oil and a pinch of sea salt.
- Sauces: Purée sorrel with cream to make a velvety sauce for fish, chicken, or pasta.
- Egg Dishes: Sorrel pairs especially well with eggs, so try it wilted into an omelette or folded through scrambled eggs.


































 RSS Feed
